From download to your first report in an afternoon.
Seven steps, from joining the beta to sending your first invoice, with the screens you will see along the way.
Join the beta and install
Tap Join the beta on this site and leave your name and email. We send you a TestFlight invitation, and you install ClientOS from there. The beta is free and sample data is included, so you can look around before adding anyone real.
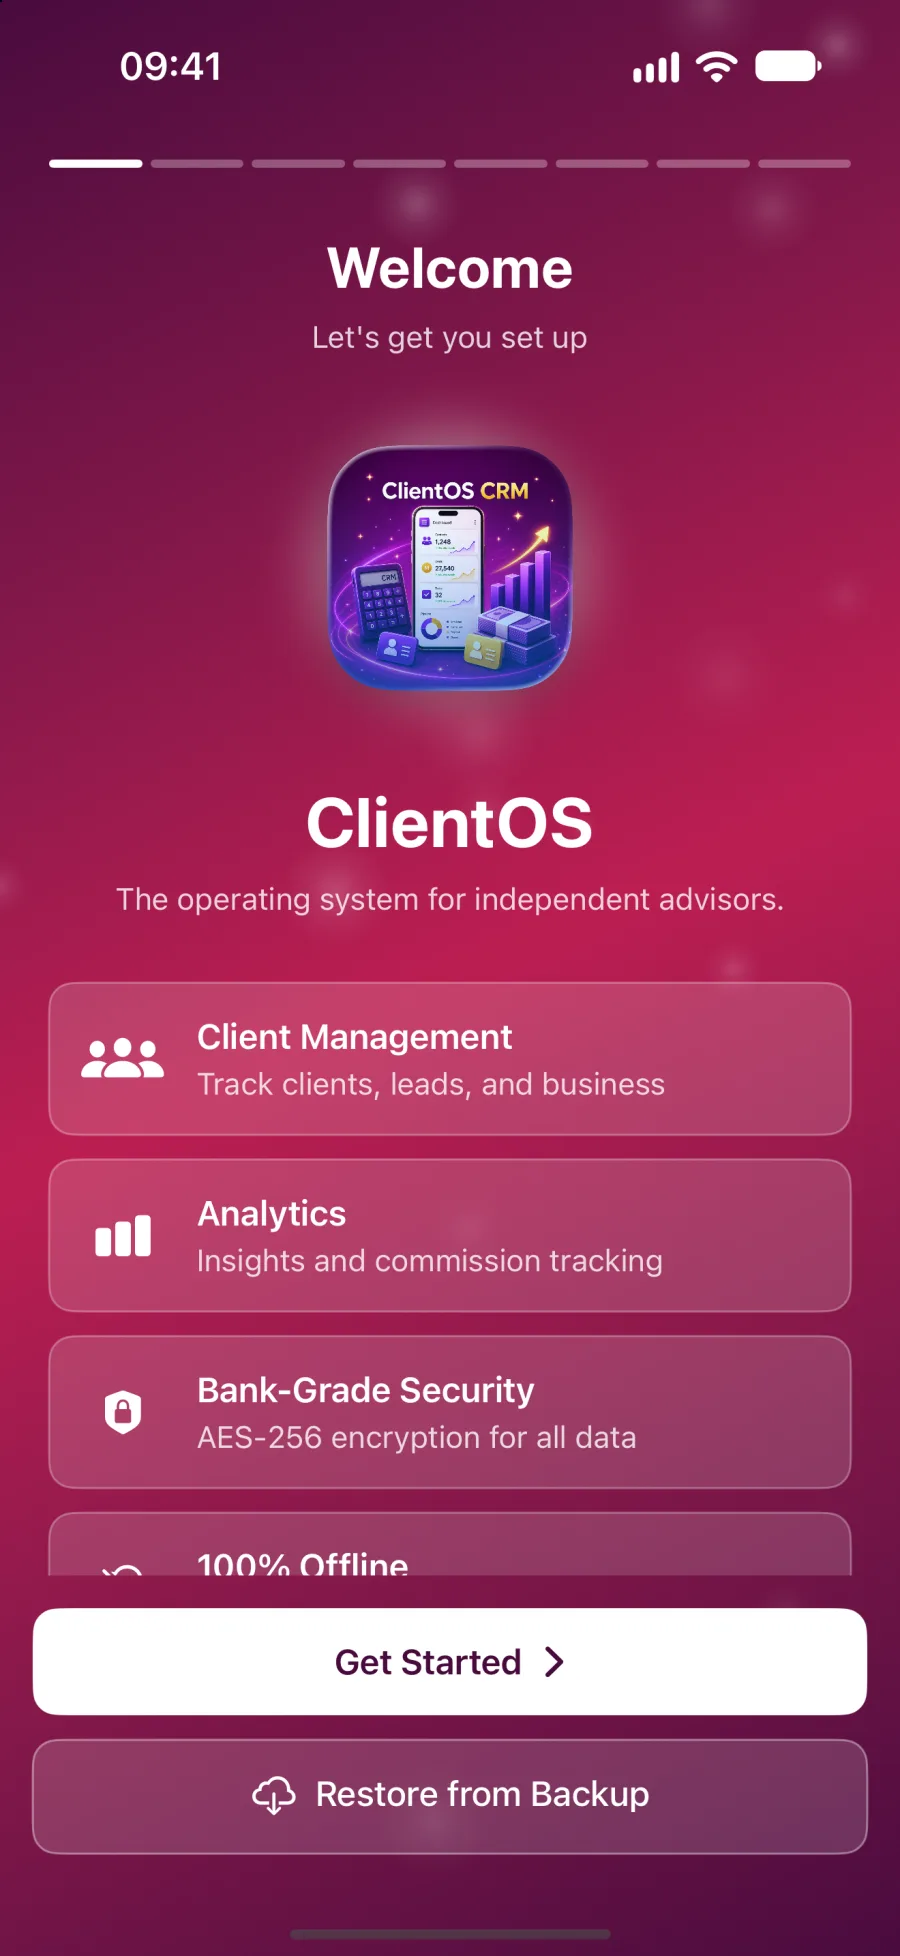
Pick your profession
On the first screen, choose Financial Planner, Lawyer, Doctor, Therapist or Freelance Consultant. This one choice changes the words on every screen, the dashboard, the pipeline, the reports and the Learn lessons, so the app fits you from the start.
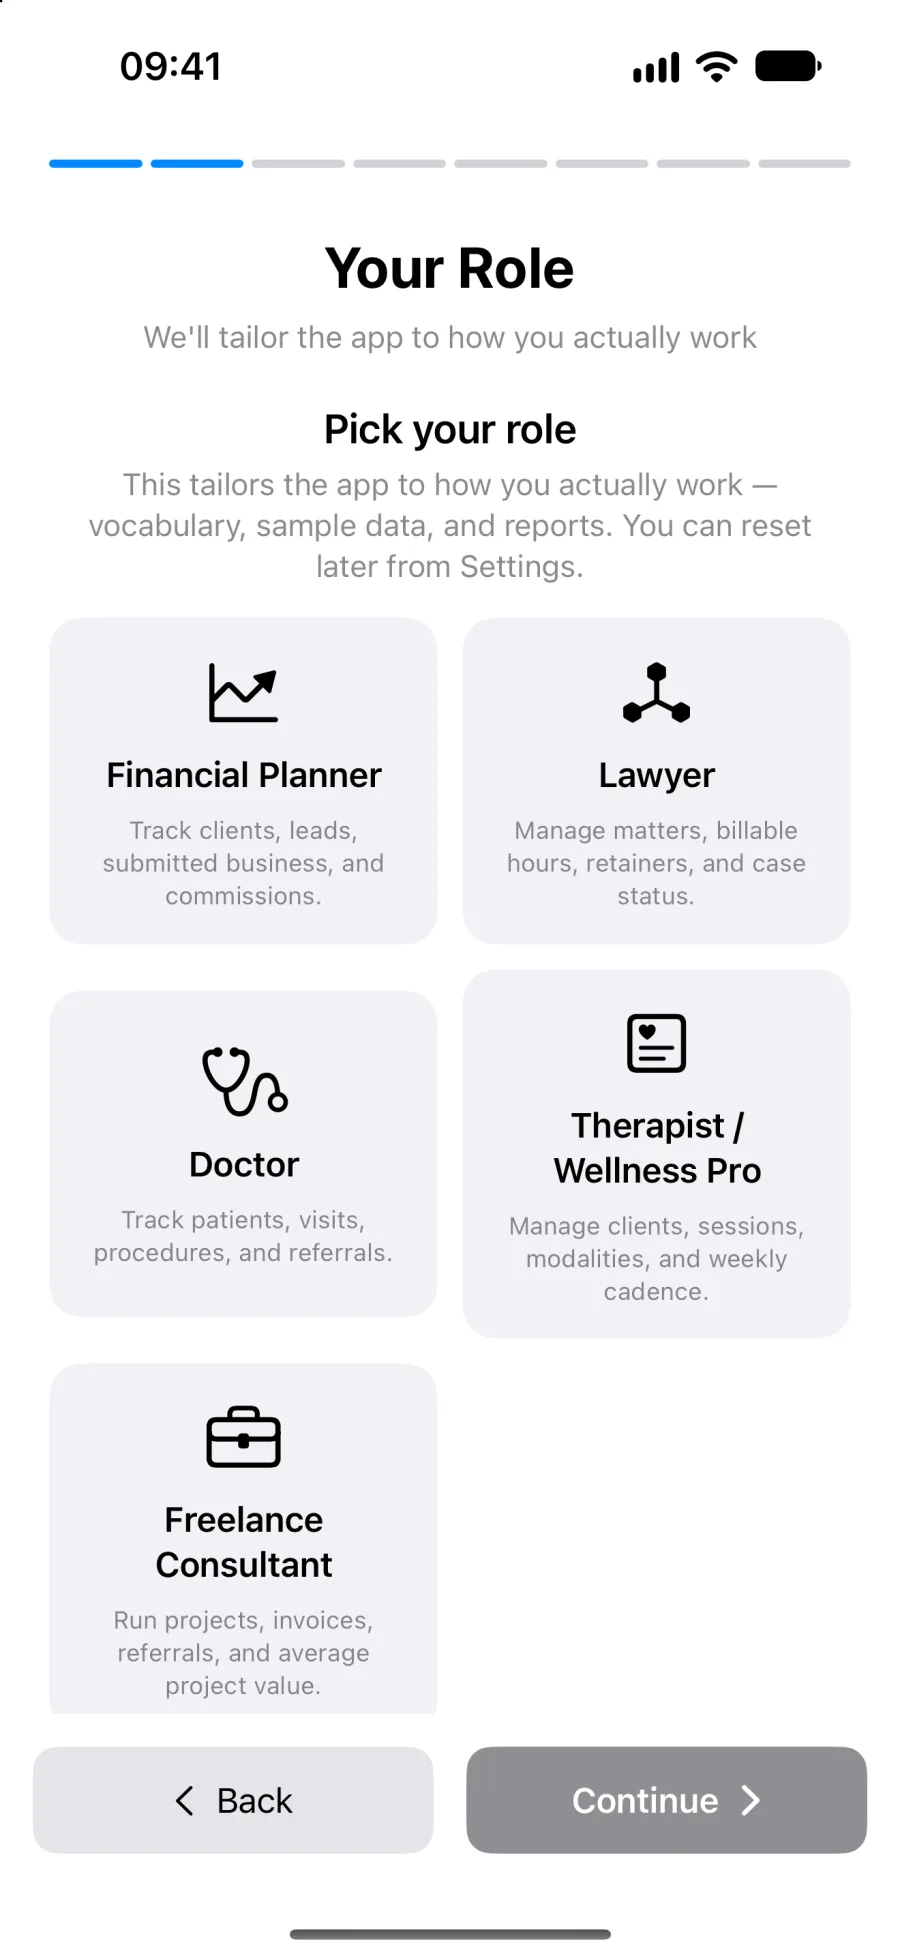
Set your password, Face ID and recovery key
Choose a strong password, which becomes the root of your encryption, then switch on Face ID or Touch ID for everyday use. Print or save your recovery key before you carry on. It is the only way back in if you forget your password.
Add or import your clients
Add a client by hand, or import your list from CSV, Excel or your Contacts. You start with your real book instead of a blank screen, and you can add custom fields, VIP flags and notes to any record.
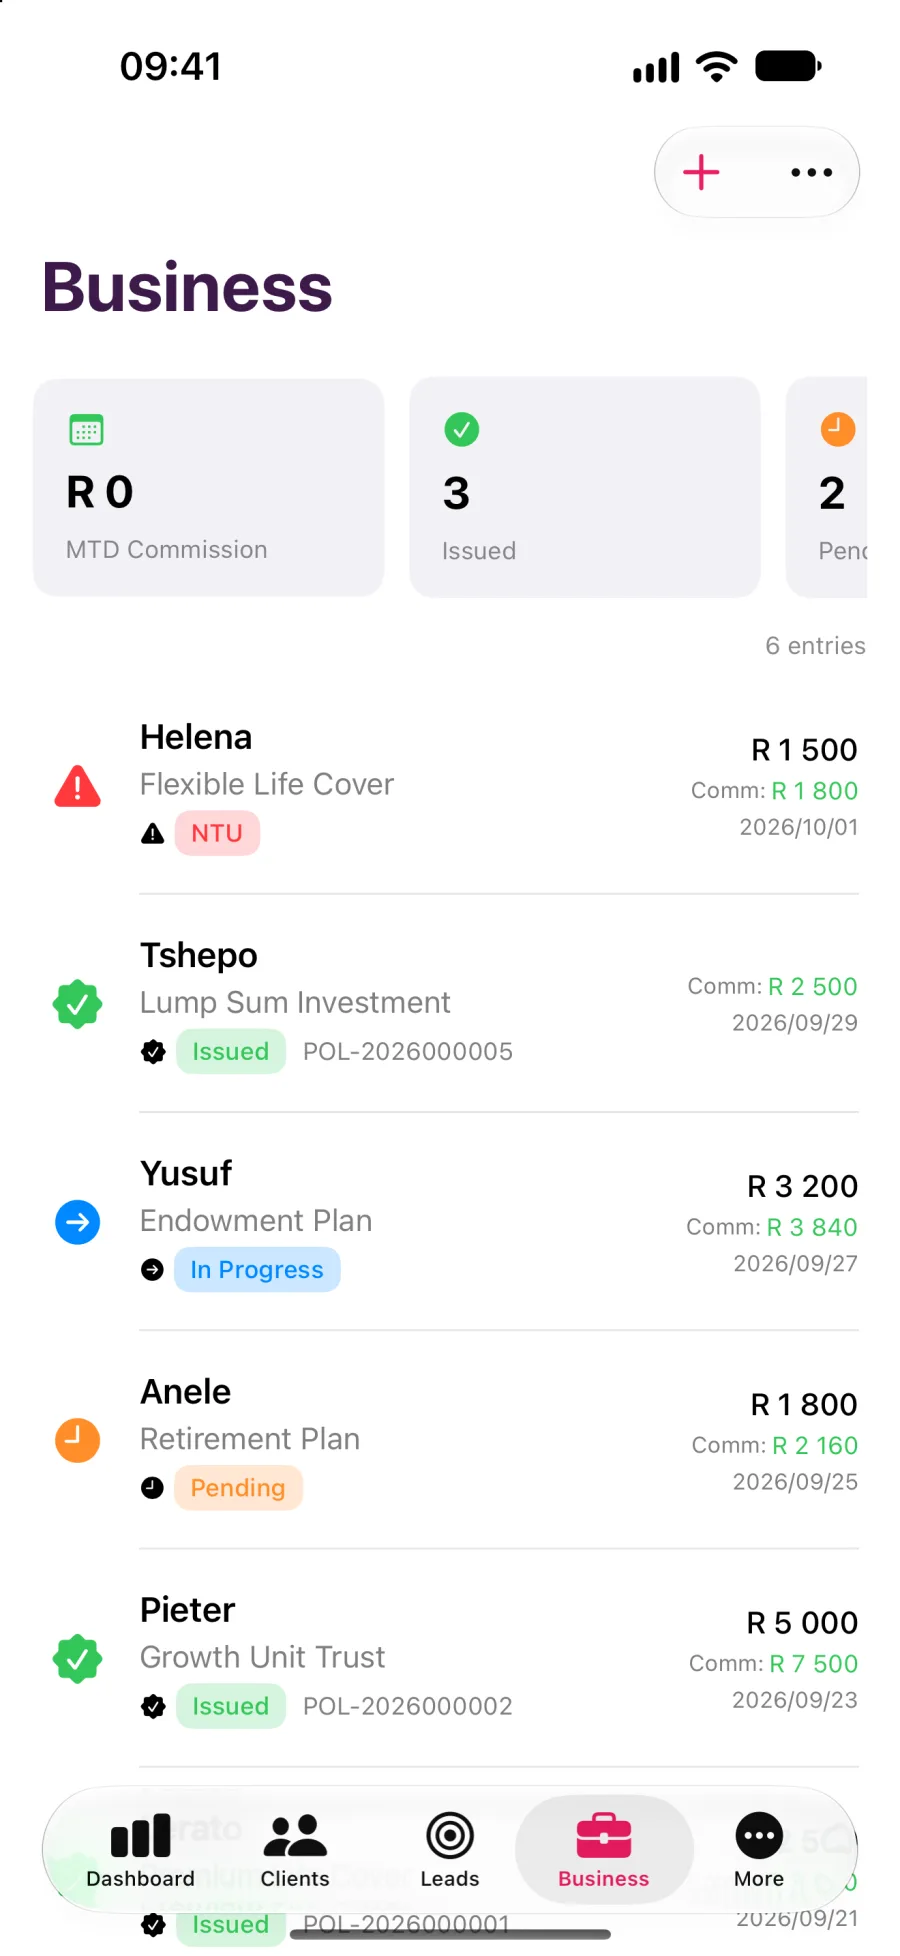
Log your first piece of work
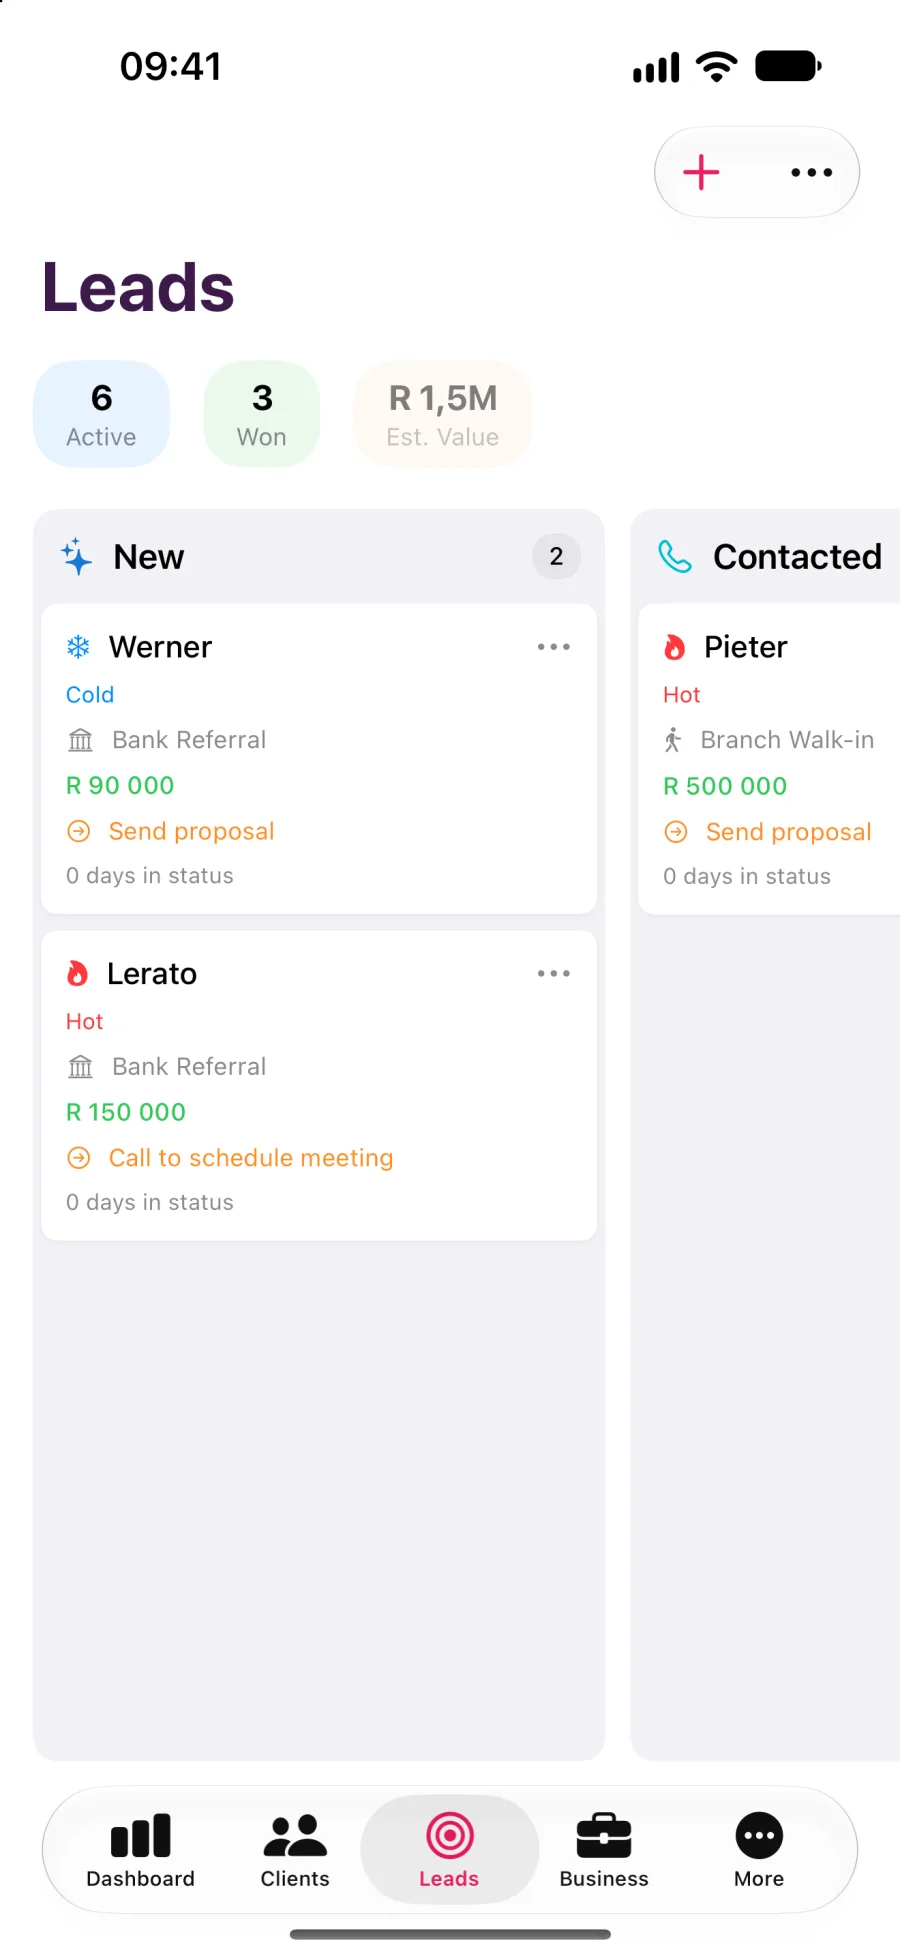
Add your first policy, case, visit, session or engagement, depending on your profession. Move a lead along the pipeline board too. This is the data that feeds your dashboard and reports, so a few real entries make everything else useful.
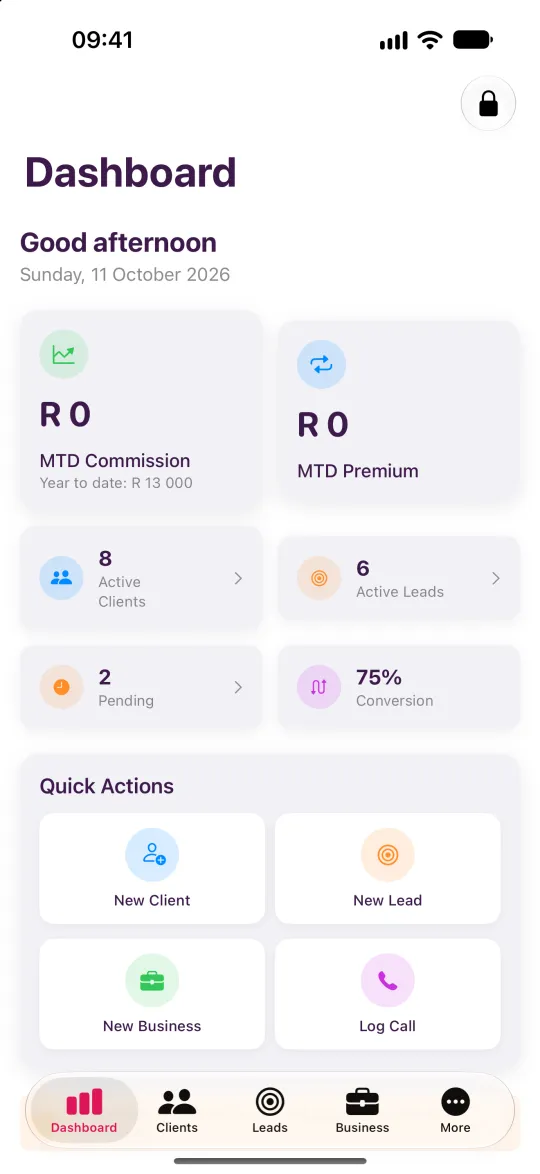
Read your dashboard
Open the dashboard to see the numbers that matter to your profession, such as commission, billable hours, income or sessions this week. Overdue alerts and the recent-activity feed tell you what needs attention next.
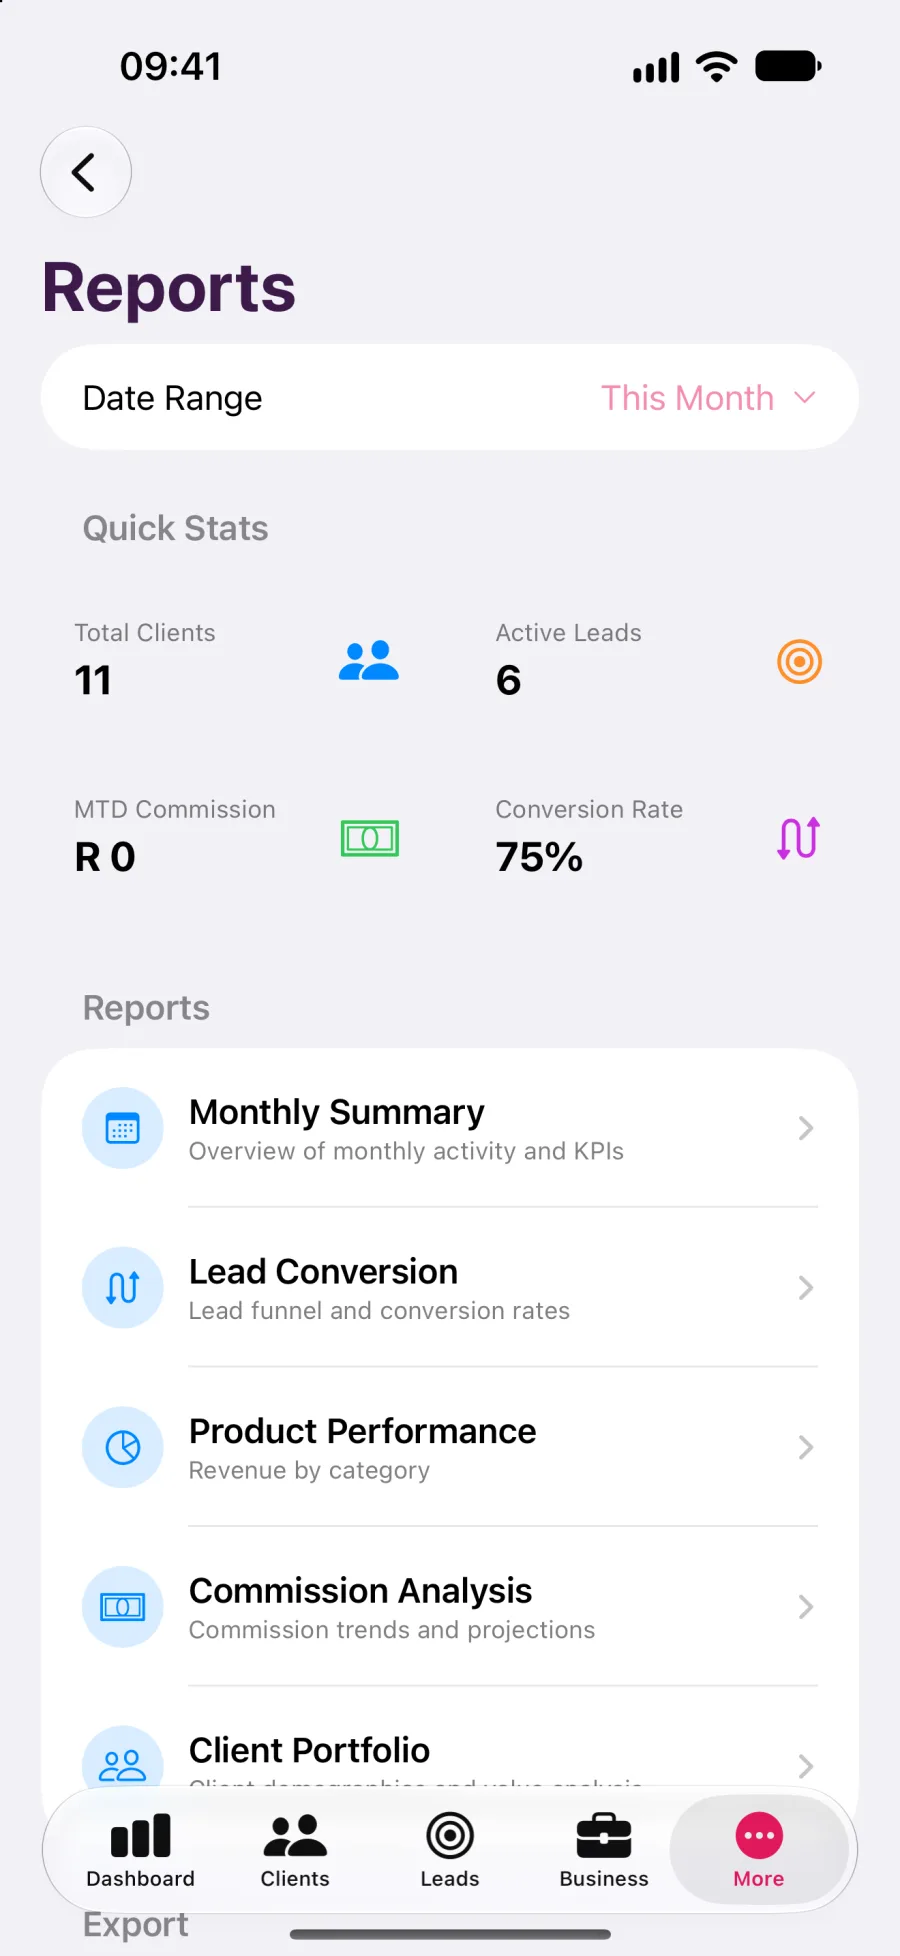
Run a report and send an invoice
Open Reports, pick one for your profession, set a date range and export it to PDF, print or CSV. Then set up your Business Profile once and send a branded invoice PDF from the payment ledger.
A simple plan to make it stick.
Your first week, one small job a day.
- Day one: install from TestFlight, pick your profession, set your password and save your recovery key somewhere safe.
- Day one: explore the sample data to see the dashboard, pipeline and reports before you add anything of your own.
- Day two: import your existing clients from CSV, Excel or Contacts, then open a few records to check the details.
- Day three: add your real leads to the pipeline and rename any stage that does not match how you work.
- Day four: set up your Business Profile with logo, colours and bank details, then create one real invoice or statement.
- Day seven: run your first report, make an encrypted backup to your iCloud Drive and tell us what worked and what did not.
Getting started questions
Most people are looking at their dashboard within a few minutes. Picking your profession, setting a password and turning on Face ID takes about two minutes, and importing clients is quick.
Ready to try it?
Leave your name and email and we will send a free TestFlight invitation. Sample data is included, so you can see how it works for your profession before you add a single client.
- Five professions
- iPhone and iPad, Mac coming soon
- Works offline